 |
| The rear of Lord Smudginton Smythely-Smythe's Hydraulically Motorvated Sextupedal Land-Traversing Vacational Domicile... with many rivets. |
It's been absolutely ages since my last post, but I can assure you I have been busy! When last I spoke at you, I had completed only one of the upper walls of the engine room. There remained much to be done.
 |
| The front wall - A cavity is closed in with a panel and lantern, to shine down on the furnace. |
Well, since then, technical hitches and unseen interruptions have abounded - but I have prevailed! All four walls are now in place and I'm ready to begin construction of the dome.
 |
| Problems arise... A broken wire necessitates surgery before the port wall can be attached. |
The first technical hitch I technically hitched upon was a simple matter of my own rather amateur soldering getting the better of me. I was putting the finished port wall in place when a wire from one of the lanterns came out. "Hmmm..." I quite correctly observed, "That is a tad annoying, to say the least." There followed some wall-surgery of a slightly destructive nature and eventually I won...
But so did the swear box.
 |
| Why is that lantern not working?! The whole lantern has to be rebuilt and put back. But the result is worth it. |
The second of the aforementioned technical hitches occurred when the front wall was painted, finished and glued into place... "Why, pray tell," sayeth I, "is that there lantern thingy not all sparkly-like?" There followed some more harsh words. It was then necessary to disconnect the soldered wiring, cut off the lantern, cut it to pieces, rebuild it, put it back, and repaint the join... Fun, n'est-ce pas?
 |
| Three walls in place... |
 |
| Looking forwards from the engine. |
Anyway, with those two walls in place at last, I was able to turn my attention to the rear of the vessel. I had been unsure of how I wanted this to look, but it quickly took shape.
 |
| Ribs are cut and positioned to determine the shape of the hull. |
 |
| The rear hull is designed, detailing begins, and everything is checked for a nice fit. |
First, I needed to plan the shape of the hull by outlining the decks and attaching 'ribs' to the engine-room section. This gave me the shape of the rear hull. I determined that I wanted balconies overhanging the rear, and that the chimney-stack - protruding through the wall - should be supported with ornate Victorian-style girders.
 |
| Girders are constructed to support the chimney stack and balconies. |
 |
| A platform is attached to support the chimney stack. Rivets begin to sprout from many places... |
Portholes were added to the lowest deck. This will continue for the full length of the vessel, and every porthole will have a light behind it. This produces a few challenges of its own: If the portholes are too clear, wiring and plain board will be visible inside the vehicle. Plus, as light is actually invisible until it hits a surface, the LEDs would be doing very little unless I wanted them to be seen directly - the answer: dirty glass. I frosted the inside of the glass with watered-down white paint. This catches the light of the LEDs and looks great.
 |
| Lanterns are added by the doors and under the chimney stack. LEDs are positioned behind the portholes (under the internal deck) |
More lanterns were also added to the rear bulkhead - one over each balcony and one beneath the chimney stack. In designing these, the LED wires actually passed straight through into the wall cavity. Plastic rod and beads were glued to the wall underneath to give the appearance of being part of the lantern - but in fact are not.
 |
| RIVETS! Thousands of 'em! |
Now began the rivetting...
This was my biggest rivet-fest session yet. And just to show you all where they go, I have broken down this week's Rivet Count...
Front and Side Walls (since last post): 770
Large girders: 192
Small girders: 156
Back wall 1.6mm 'normal' rivets (exterior): 421
Platform: 58
2mm 'fat' rivets: 122
1mm 'small' rivets: 60
Back wall (interior): 332
Total added: 2,111
Bringing the total for the walker so far to: 6,670 !
That's quite a lot.
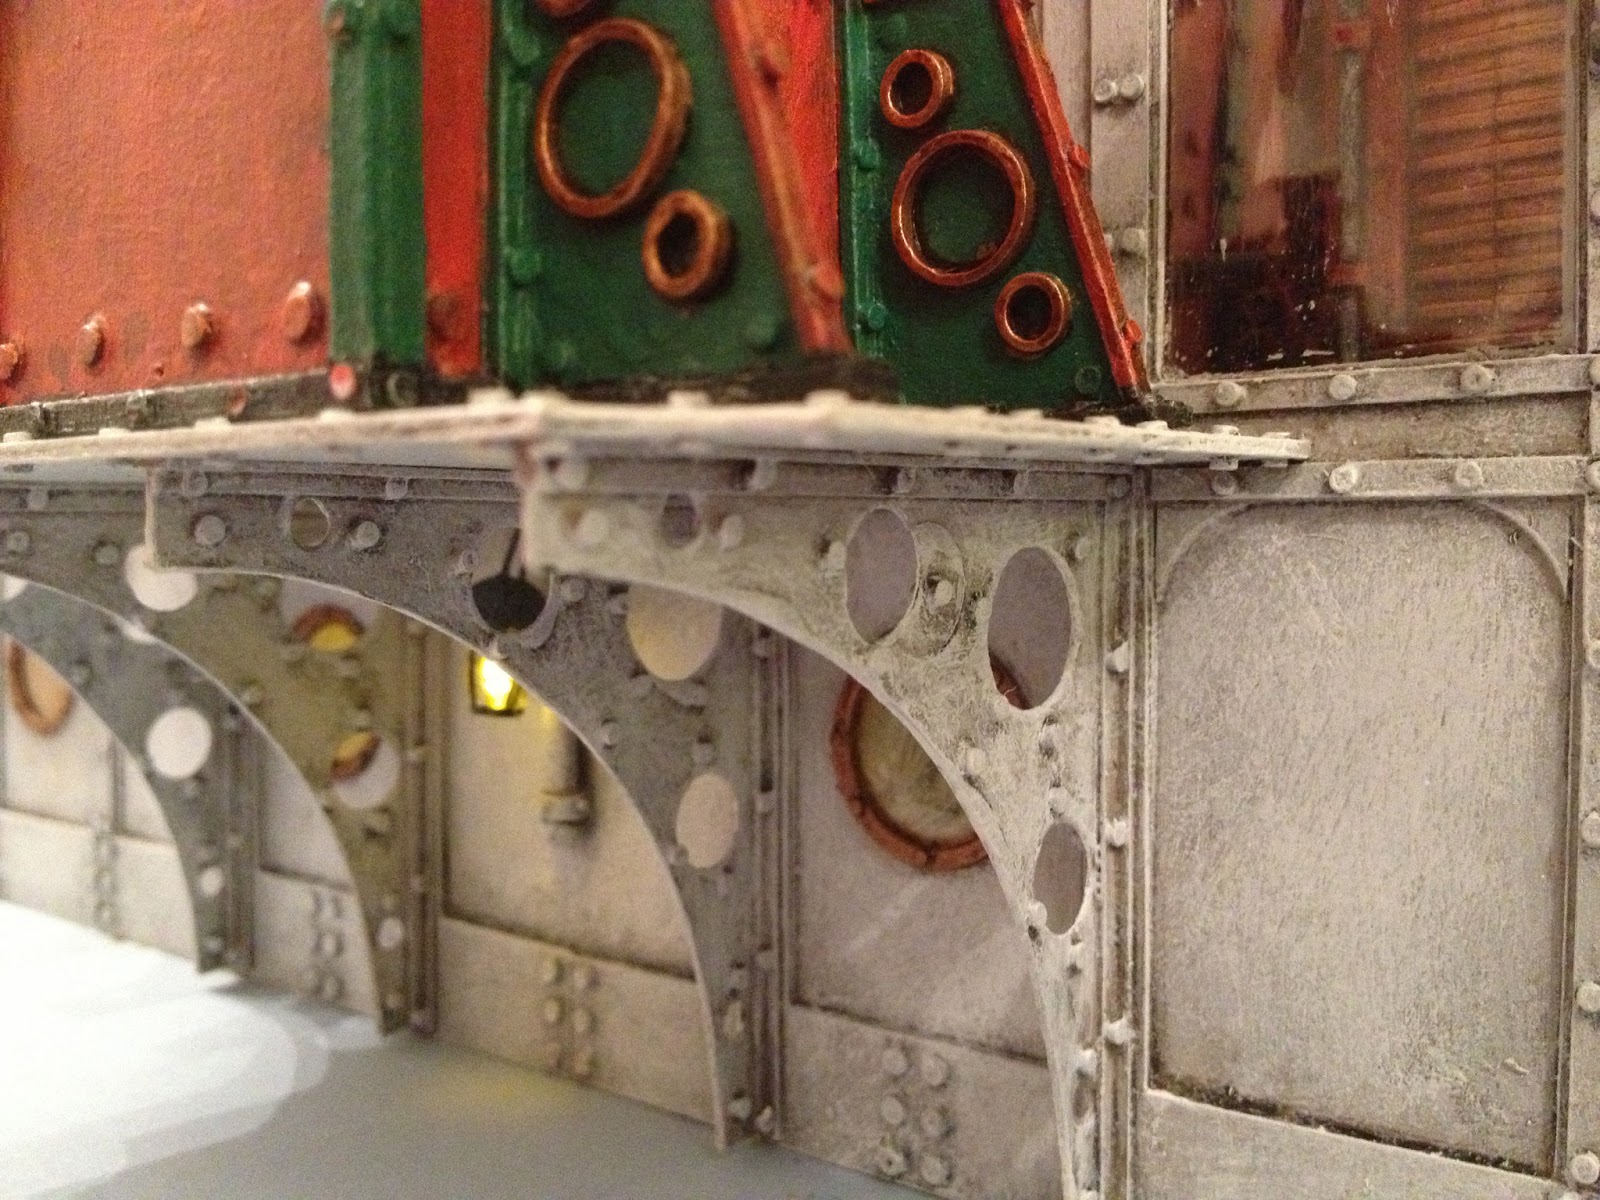
 |
| Many rivets, painted. The portholes have been dirtied, to catch the light of the now-concealed LEDs. |
With the rivets done, the painting seemed simple. And indeed it was. I think this vehicle is going to look fussy enough without adding a complicated colour-scheme, so I'm keeping things very monotone. And don't you think the red engine looks splendid against the blue-grey of the hull?
 |
| Under the engine... |
 |
| Girders await boards and handrails to complete the balconies. And the door needs a handle. |
All that remained was to wait for nightfall and turn on the lights...
 |
| All lights present and correct... |
 |
| Financier and a slovenly workman discuss... what, exactly? |
So there you go! A massive rivet-input and a good result. I hope to start on the dome soon, although things may be a little slow for a week or two, as I'm moving house...
So long, Kapiti Coast... Hello Wellington!
 |
| Lanterns lend the decks an eery glow... |
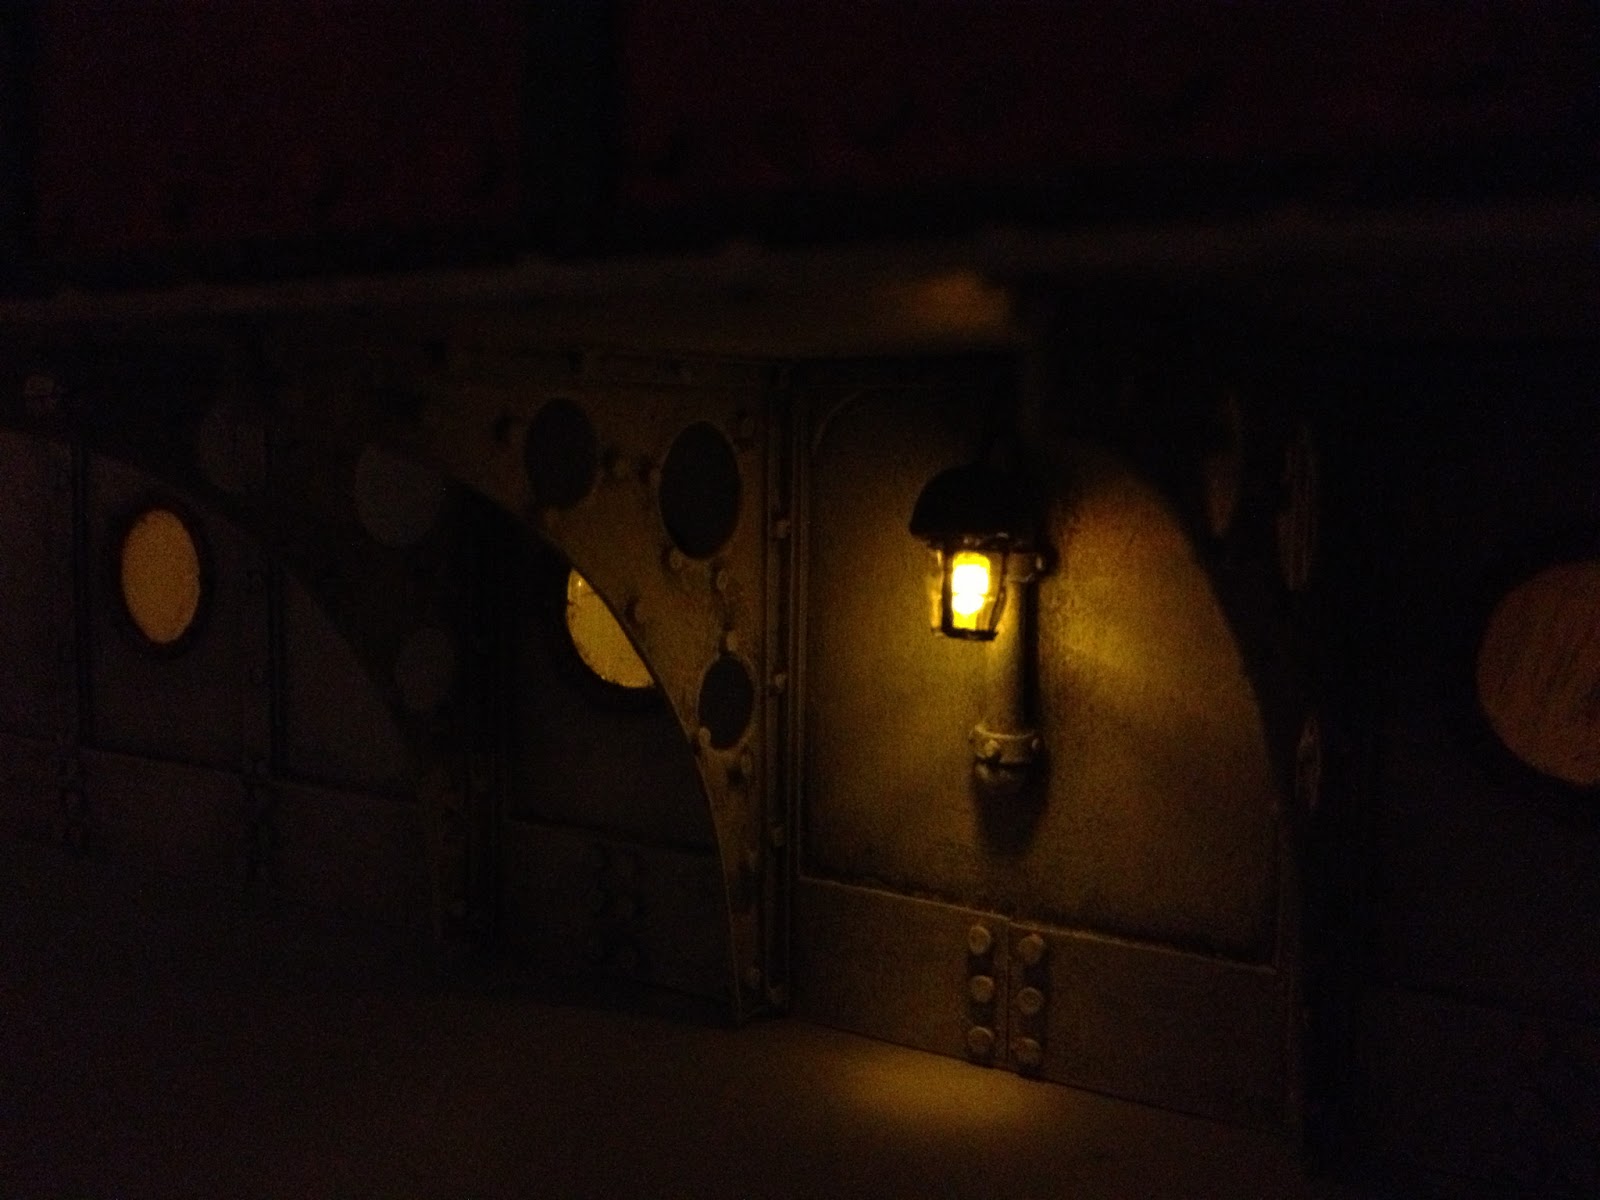 |
| The aft-lantern and portholes. |
More soon.
All the Best!
Sir, This is Amazing and most Fantastic to have the previledge of following your great Arbeit with "THE"-Construct of the Century!
ReplyDeleteI know you have told us before, but what do you use for rivets? I have been searching for some time now but cant find any appropriate supstitute.
Best Regards
Thanks Galdarbjelke - you are too kind! And there's a lot of this century still to go.
DeleteFor rivets, I use plastic rod, which I cut with a knife. Many, many times. I usually do about fifty at a time, glue them to the model, then do fifty more. It's actually surprisingly quick work, although I recall that once upon a time, a few fundred seemed like a really big deal. Now I think nothing of doing two hundred or so in an hour - just accustomed to it, I suppose!
Thanks for your encouragement! I'm only about 20% of the way there with this project!
Your Padawan bows and are greateful for the insight.
DeleteVery welcome, you are. Hmmm.
DeleteColonel, I've finally figured you out, Sir...you work at MIT. Beautiful modeling!
ReplyDeleteJay! Good to hear from you!
DeleteWho is this Mit of whom you speak? Isn't that just 'Tim' backwards, by Dog?
Thank you.
Colonel, sir, I must congratulate you on this phenomenal feat of British engineering. The Kaiser must be gnashing his teeth that he must vacation in a paltry Bavarian palace, whilst you have this in which to luxuriate - and you're not even a Junker, mush less royalty!
ReplyDeleteThis contraption is simply amazing.
Squire Womack, my thanks!
DeleteOne is always amused to picture the gnashing of Kaiser-ish teeth. But how do you know I am not royalty?
I shall be complaining about you to Big Liz the next time we play Twister.,
Wow! just... wow! The whole effect, even at this 20% done stage is amazing. The windows, decking, balcony and girders really give the whole high Victorian look.
ReplyDeleteThe porthole lights really look the business. I'm thinking you're aiming at an appearance something like an ocean liner of the period? I wonder if lightly rubbing glasspaper over the clear plastic might work as well as the paint wash in diffusing the light?
Anyways, good luck with your house move. With luck and a following wind my mem-sahib and I will be doing the same soon.
A J!
DeleteThe glasspaper thingy is a great tip! Thanks - I'll give it a go.
Yes. I am very much aiming for the ocean-liner look. But with more legs.
Thank you - I hate moving house. I'll be glad when it's done - and good luck to you too, Sir!
Smart work Joe, its been a treat to see it in the flesh, err...plastic, as it has taken shape... Thanks for the tips the other day, especially the holepunch tools... for more of the Victorian buildings I am doing I am wondering whether the hole punch will go through 3mm MDF with a few repeated whacks?
ReplyDeleteThanks Scott. And you're welcome.
DeleteAs to the MDF question; thick card presents a problem and (I suspect) may blunt the punches quite quickly, due to its fibrous nature. MDF would possibly do likewise, only more so. Probably not so tricky to get through with small punches, but an issue for the bigger ones (surface area ratios and all that...)
I suggest you try it and see what happens...
Hope the new house has somewhere big enough to store all your imaginations? Oh yeah the universe ain't that big
ReplyDeleteUm... No it doesn't.
DeleteAnd did you just call me a big head, Ian?
Joe - simply amazing. I am so looking forward to the official launch party. But I suggest it might be better not to smash a bottle of champagne over the prow:)
ReplyDeleteVodka?
DeleteStunning! OO
ReplyDeleteThanks, Christian!
Delete