|
| War Flunk - ready for crew... and battle! |
I've had a few days off work this week, and in preparation for the big walker project I announced a little while ago, I thought I should try to get a few odds and ends finished and out of the way.
It turns out that I have been suffering from a bout of Modellers' Disease - the main symptom of which is the habitual buildup of unfinished ideas, each one abandoned in favour of a newer and more interesting one, until the workload becomes unmanagable...
Sound familiar to any of you?
Anyway, I had let the Flunks I started some time ago languish on my shelf. "Enough!" I cried. Inwardly. And I set about finishing the big bull.
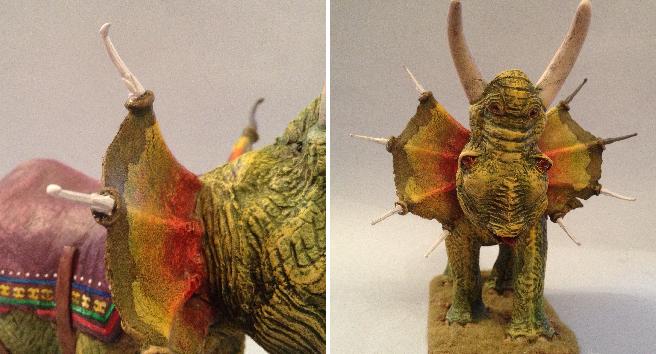 |
| Stubby little horns are replaced with nice spiky ones... |
Firstly: I wasn't happy with the stubby little horns around the 'fan' this big fellow displays. I wanted something far more impressive. Browsing my Big Box O' Bits, I found GW Elven archers sprues held the answer - nice ornate, pointy bows... Making sure I had enough identical ones, I cut these into halves, carefully removed the horns I had sculpted onto the Flunk and replaced them.
"Nice one," I cryeth. Inwardly.
 |
| A sheet of plastic board is textured as planking. |
And then it was on to the howdah...
I might previously have made this from balsa, but for strength, I decided to use plastic. Using a sheet of 1mm thick styreme, I was able to get a wood grain effect by scraping the sheet all in one direction with very coarse sandpaper. Following this, I scored 4mm wide planks using the point of a sharp knife, dragged sideways. This created grooves without leaving an upward-turned edge.
 |
| A frame is constructed for the howdah. |
Next, I built a frame for the howdah across the back of the Flunk. At this stage, the frame was removable.
 |
| Planking is applied. |
Planking completed the basic shape and the howdah began to take form.
 |
| Balsa corners and brass reinforcings are added. The front gantry will eventually house the driver. |
Now the structure of the howdah was reinforced with brass sheet, studded with rivets. Square panels were also added, by way of providing armour and decoration.
 |
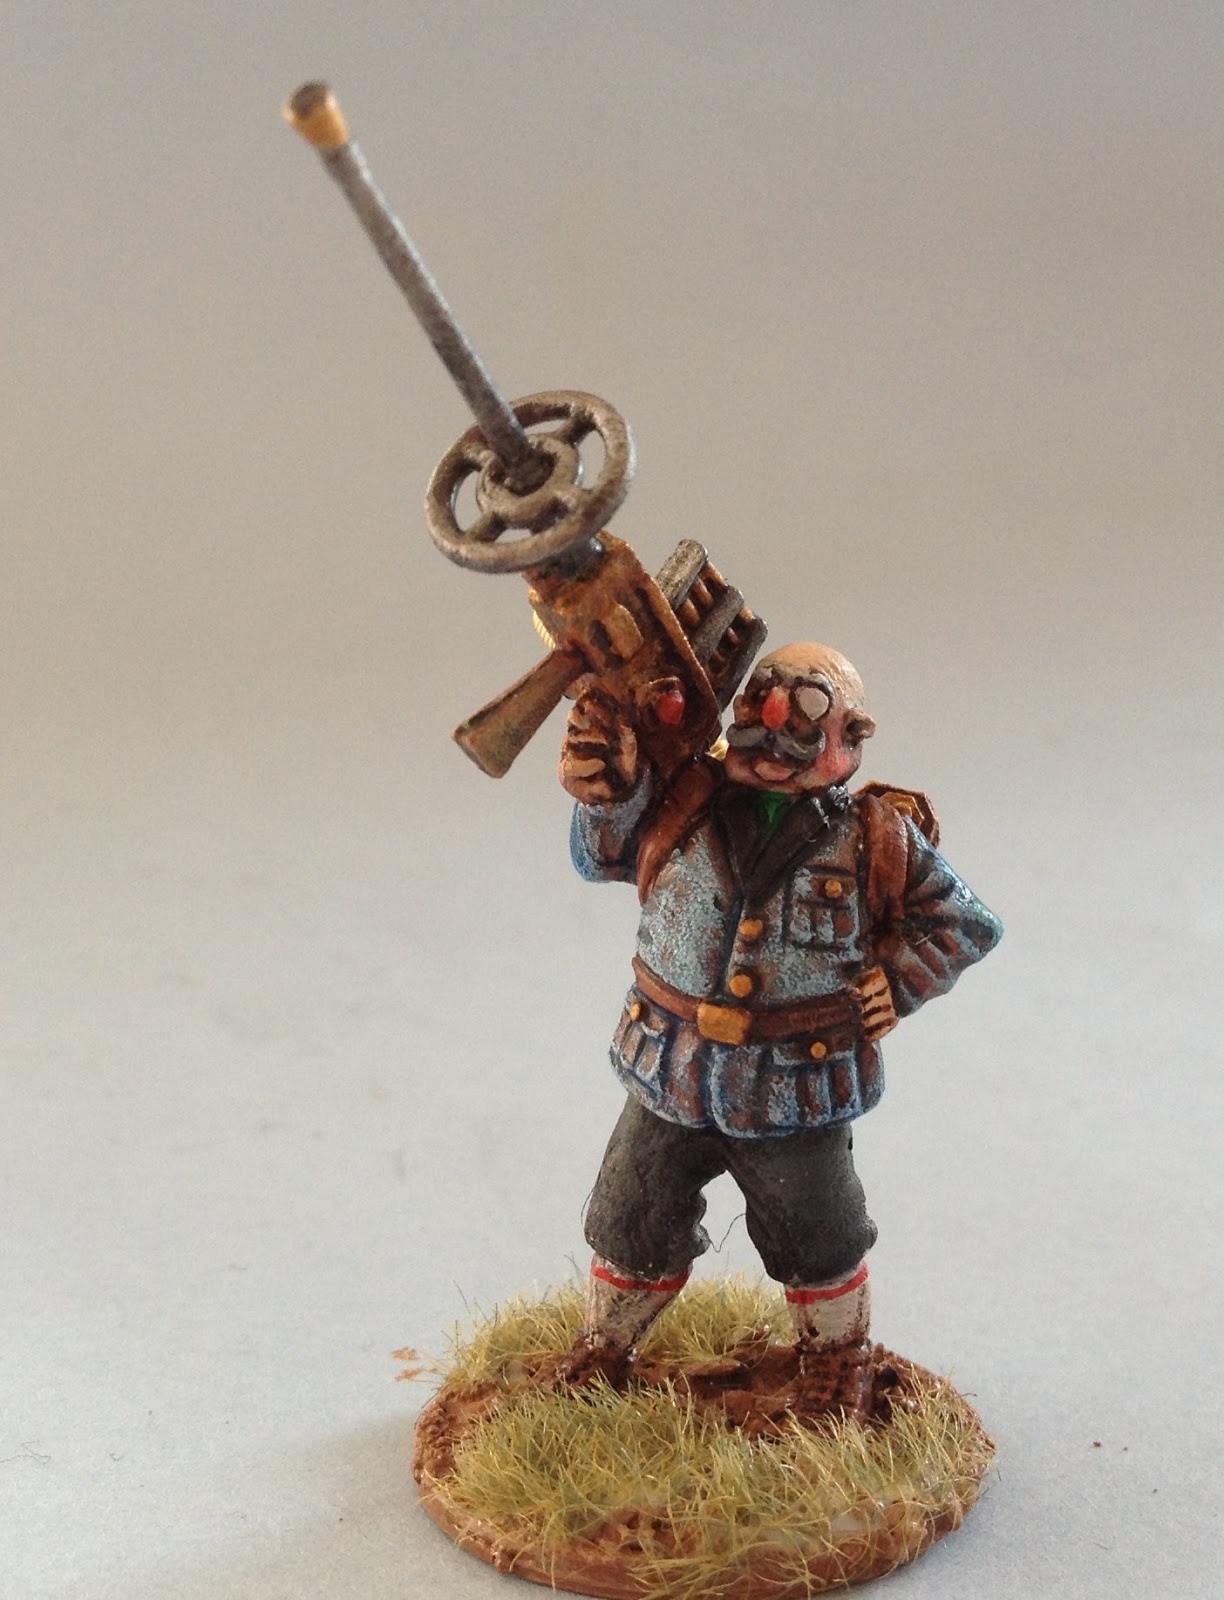
| Two storeys high... with a rifleman for scale. |
I wanted the structure to have two storeys. A tower was built for the centre and surrounded with a curtain of brass sheet to add a little more decoration and colour to the model.
 |
| The basic howdah, as the paint goes on. I opted for copper for the reinforcing. It's bright and colourful - as suits the Wutha F'Kahwi tribe. |
And so began the painting...
 |
| Copper adorns the creature's horns and the howdah. |
Once the planking and armour were painted, I glued the howdah in place and gave some thought to further detailing. The straps beneath the howdah were not enough on their own, so I added chains as well. This was a very fiddly process, but well worth the effort. You may recall I did something very similar for the swing-bridge in the neck of HMSW Gargantua.
 |
| Chains and rings... Time consuming and fiddly stuff. |
 |
| The chains are glued in place. |
 |
| ...and painted. |
It wasn't helpful to discover that somehow my pliers have become magnetised... The chain kept moving of its own accord...
 |
| Flunkee, undercoated. |
With the howdah in place, I turned my attention to the means of steering the beast. A driver - or Flunkee, to give him his correct title - was put together and painted, and shackles and reins constructed around the Flunk's great horns.
 |
| Flunkee, in place - and in control! |
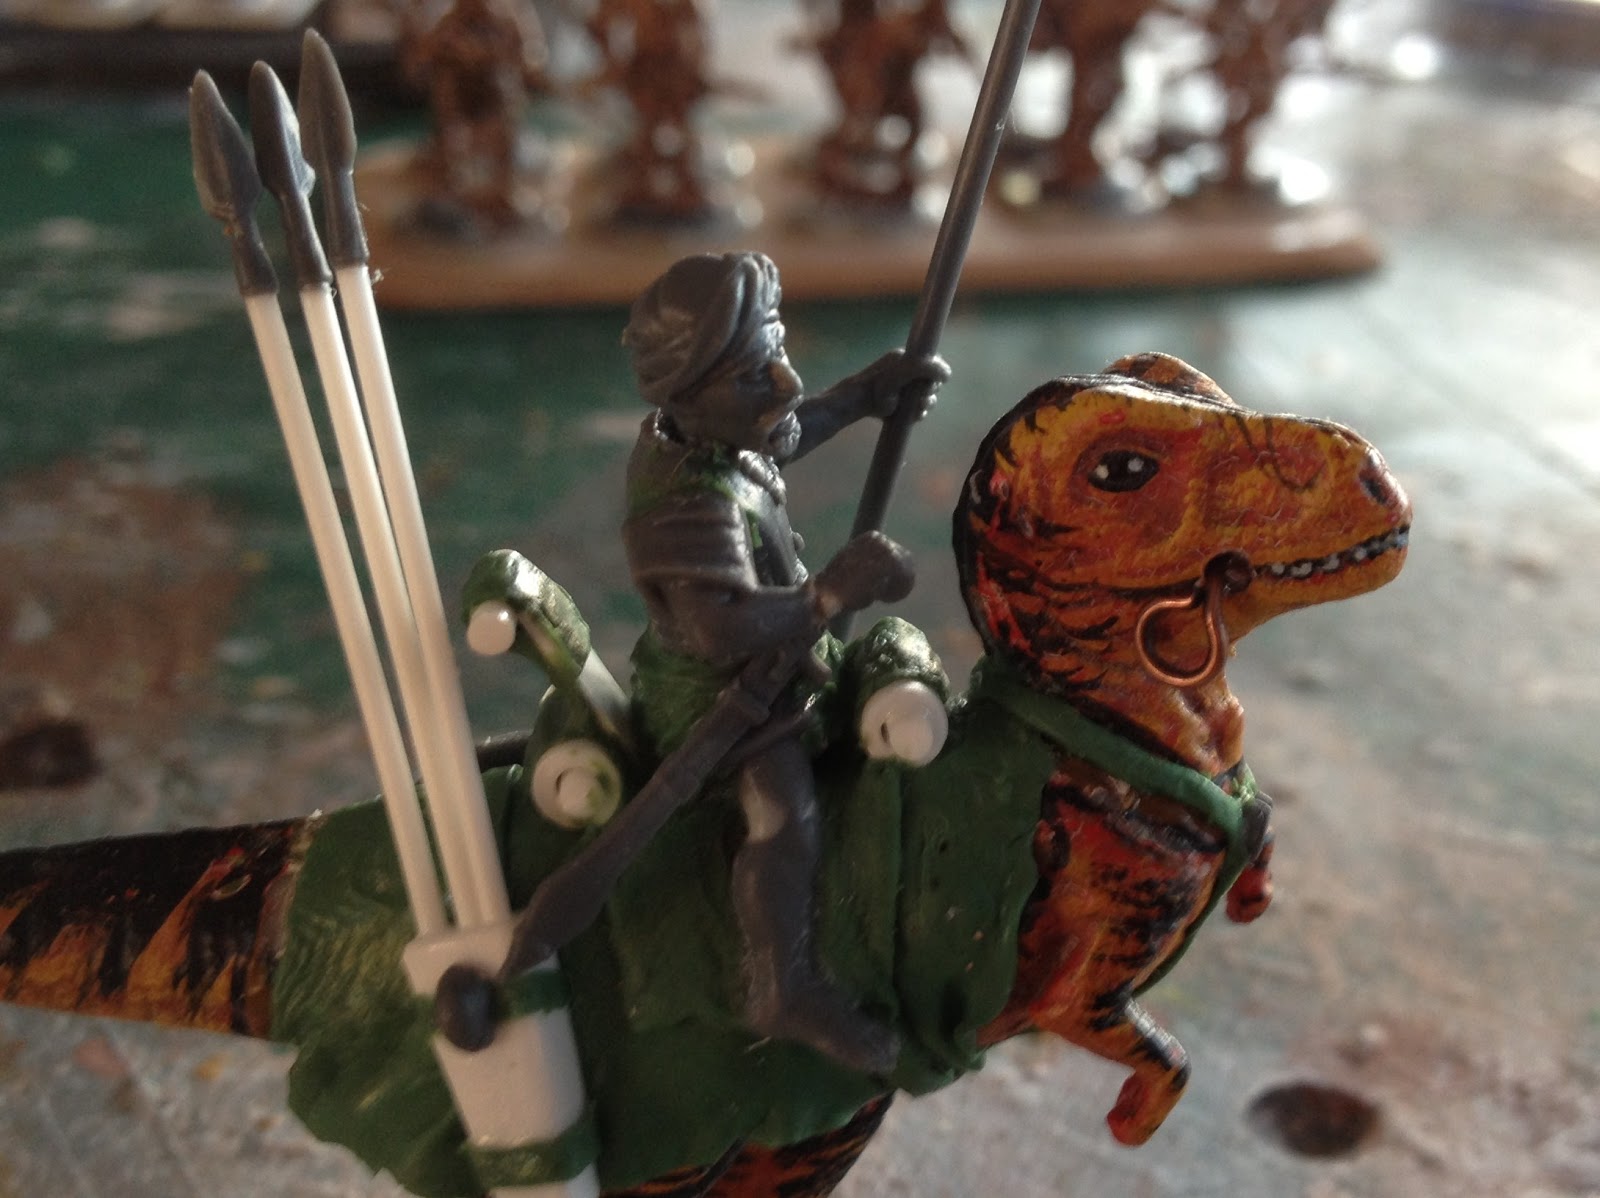
The reins were made from brass foil, as with my earlier dinosaur cavalry. The shackles around the horns are also brass foil, but with the edges folded in to give a greater thickness.
 |
| The finished model. |
 |
| A Hydrothermicopter's-eye view... |
Finally, the reins et al were painted. And hey presto! A completed Flunk! Now all that remains is to provide a crew...
All in all, pretty good. One more project ticked off the list.
 |
| The great war-flunk thunders on... |
That's all for now!
All the Best!