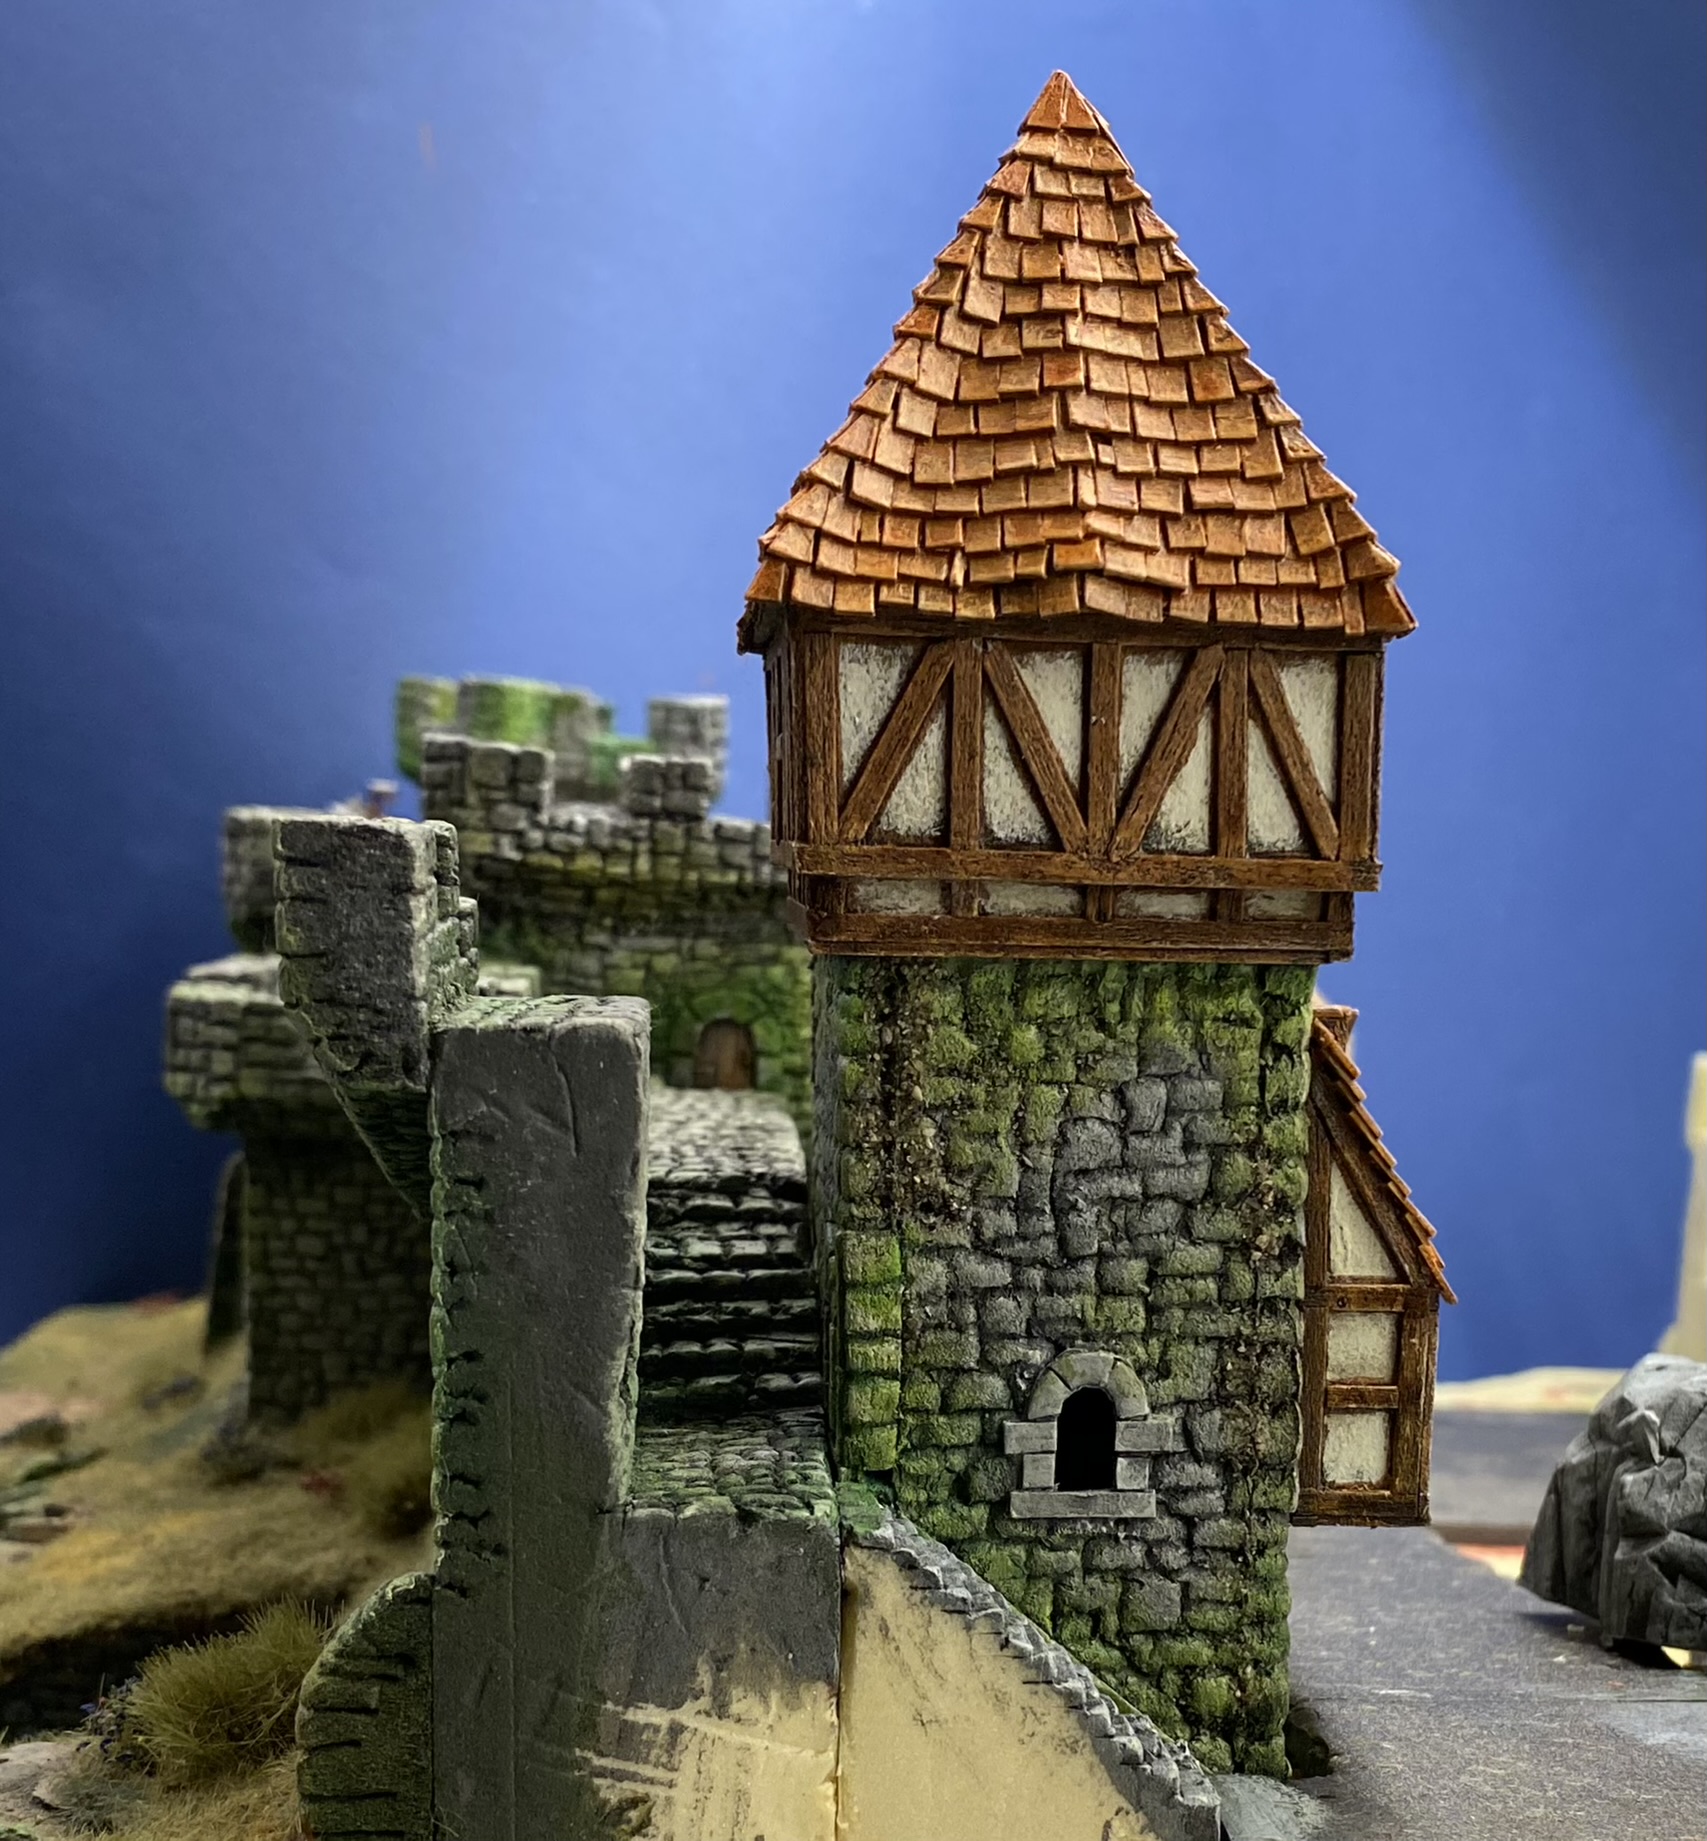
Sunday, 4 July 2021

More Sub Standard Creativity!


Hi All!

Can you see where I'm going with this one? 

This week I am continuing with the submarine-type-theme thingy that began in May. It seems I can't get away from them!

No sooner had I finished my Nautilus commission, than another challenge came my way! "Colonel, old bean," came the cry, "I have a new challenge for you!"

"A new challenge?" I replied, "That sounds like a new challenge to me!"

And so it was.

Thusly it was that I embarked on a new challenge. 

Over the next few posts I shall endeavour to keep you all informed, entertained and otherwise engaged as I embark upon building my versions of none other than Thunderbirds 2 and 4, complete with a removable pod in which the former shall house the latter!


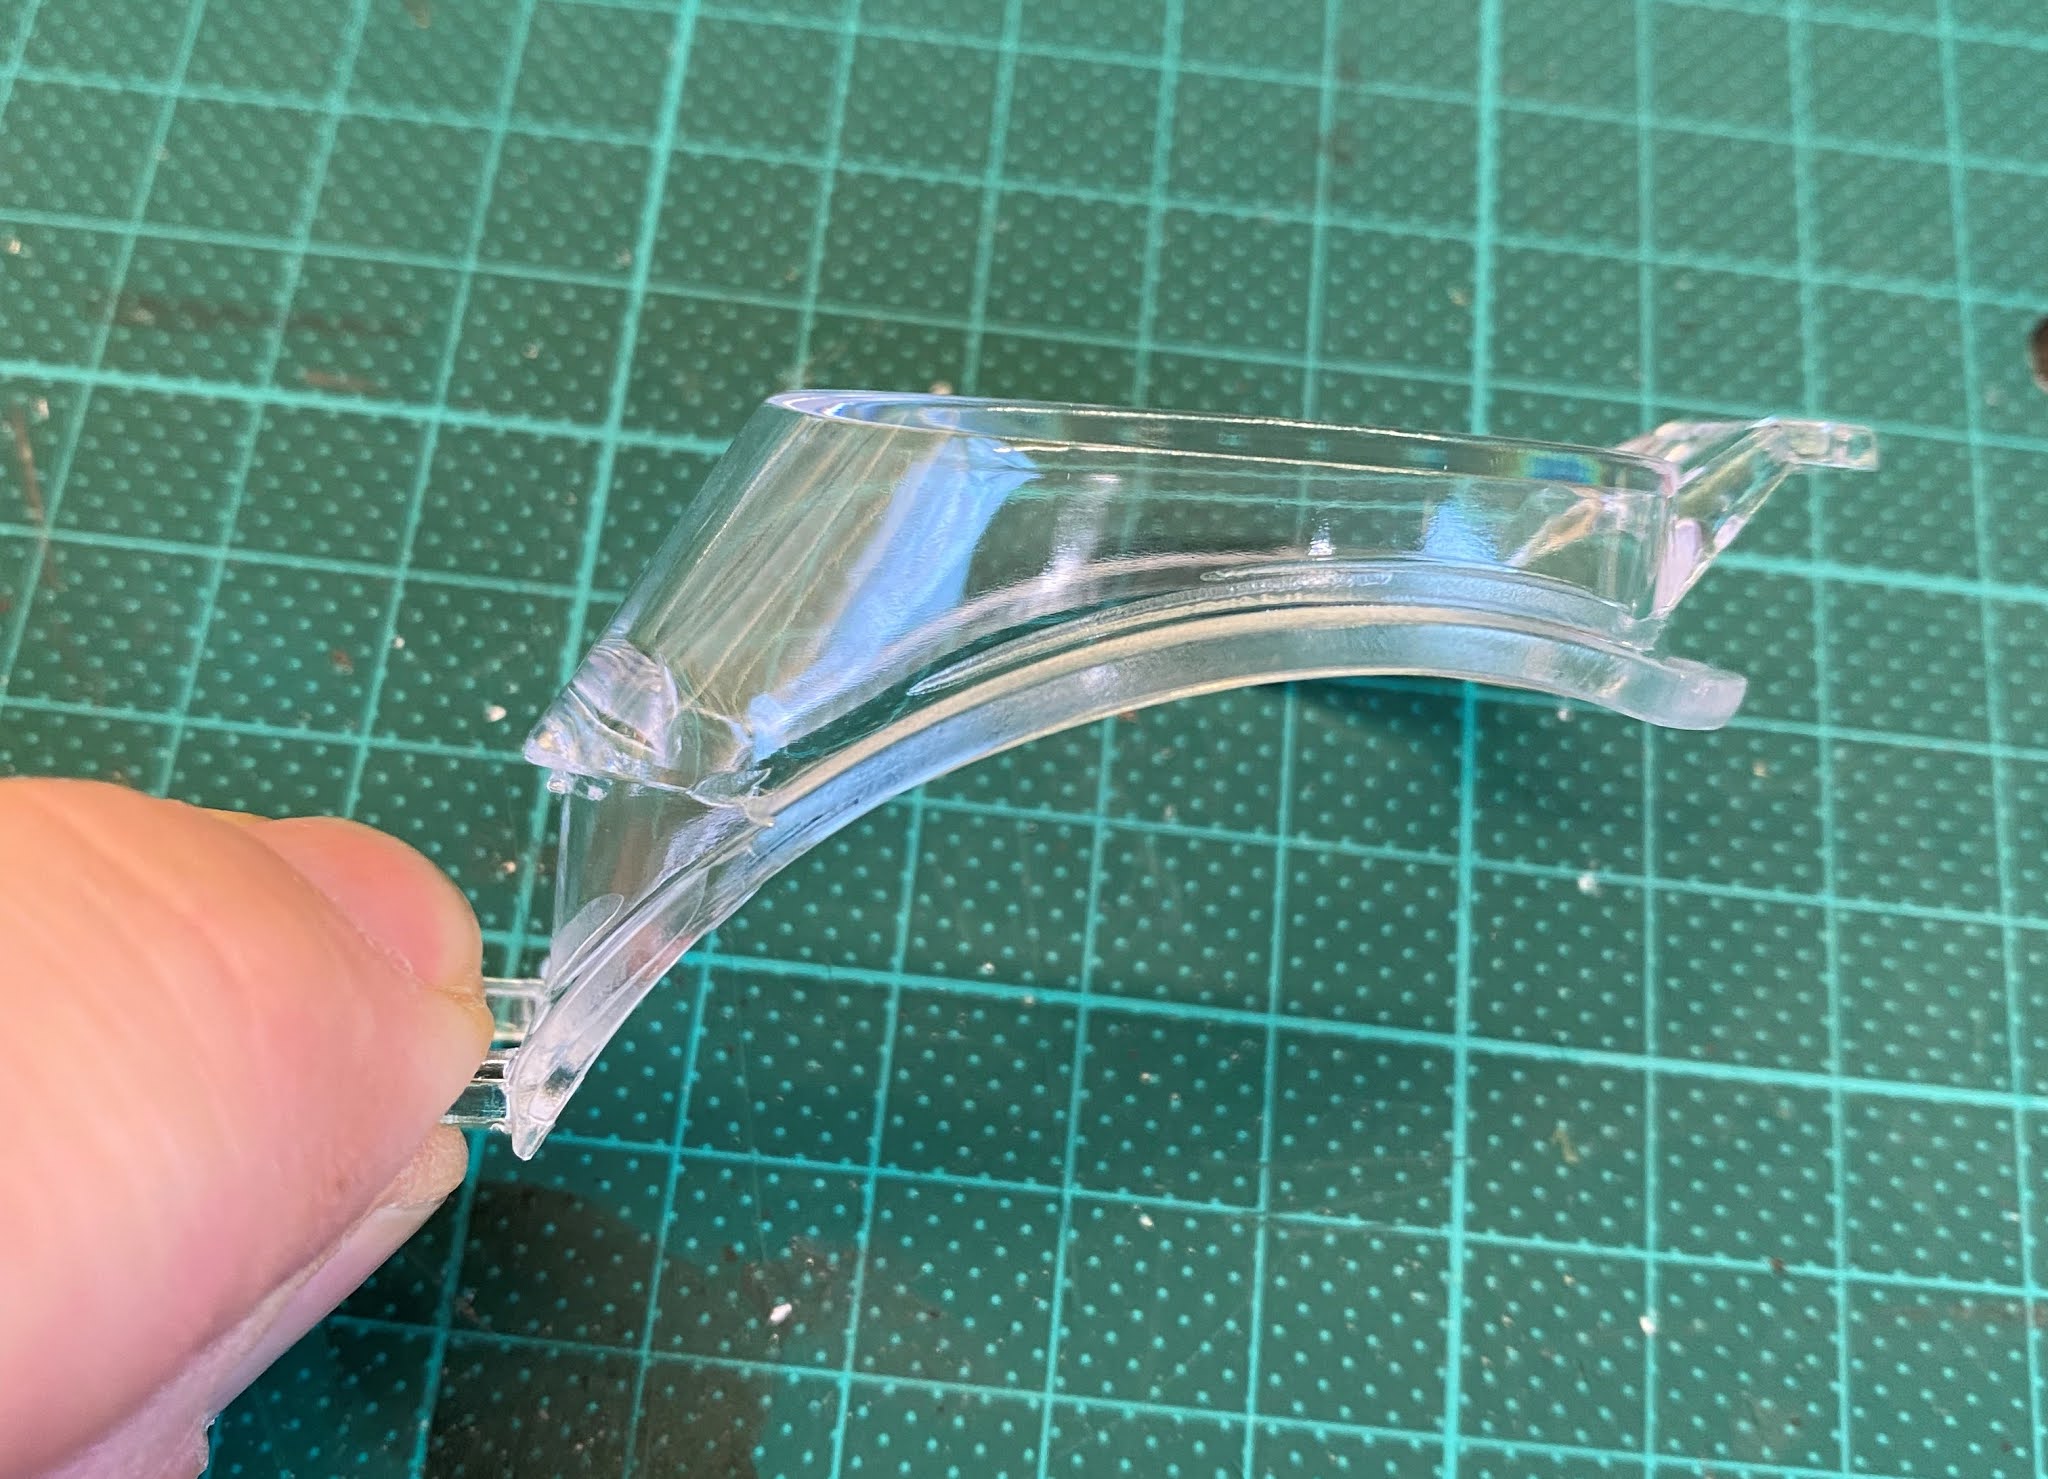
Goggles - the obvious choice when building a submarine!


A singular gog, side view.

The first stage in this challenge, I decided, was to design and build Thunderbird 4, which in turn would dictate the size of the pod, and ultimately Thunderbird 2. So without further ado, I had a good old rummage around, in search of submariney bits and bobs.

I wanted this piece to have a clear-fronted cabin so that I could show the interior details and (possibly) a pilot. After various, "Hmmms," and "Haaaahs," I decided the only reasonable course of action was to build the thing around a lens from a pair of swimming goggles. Obviously.


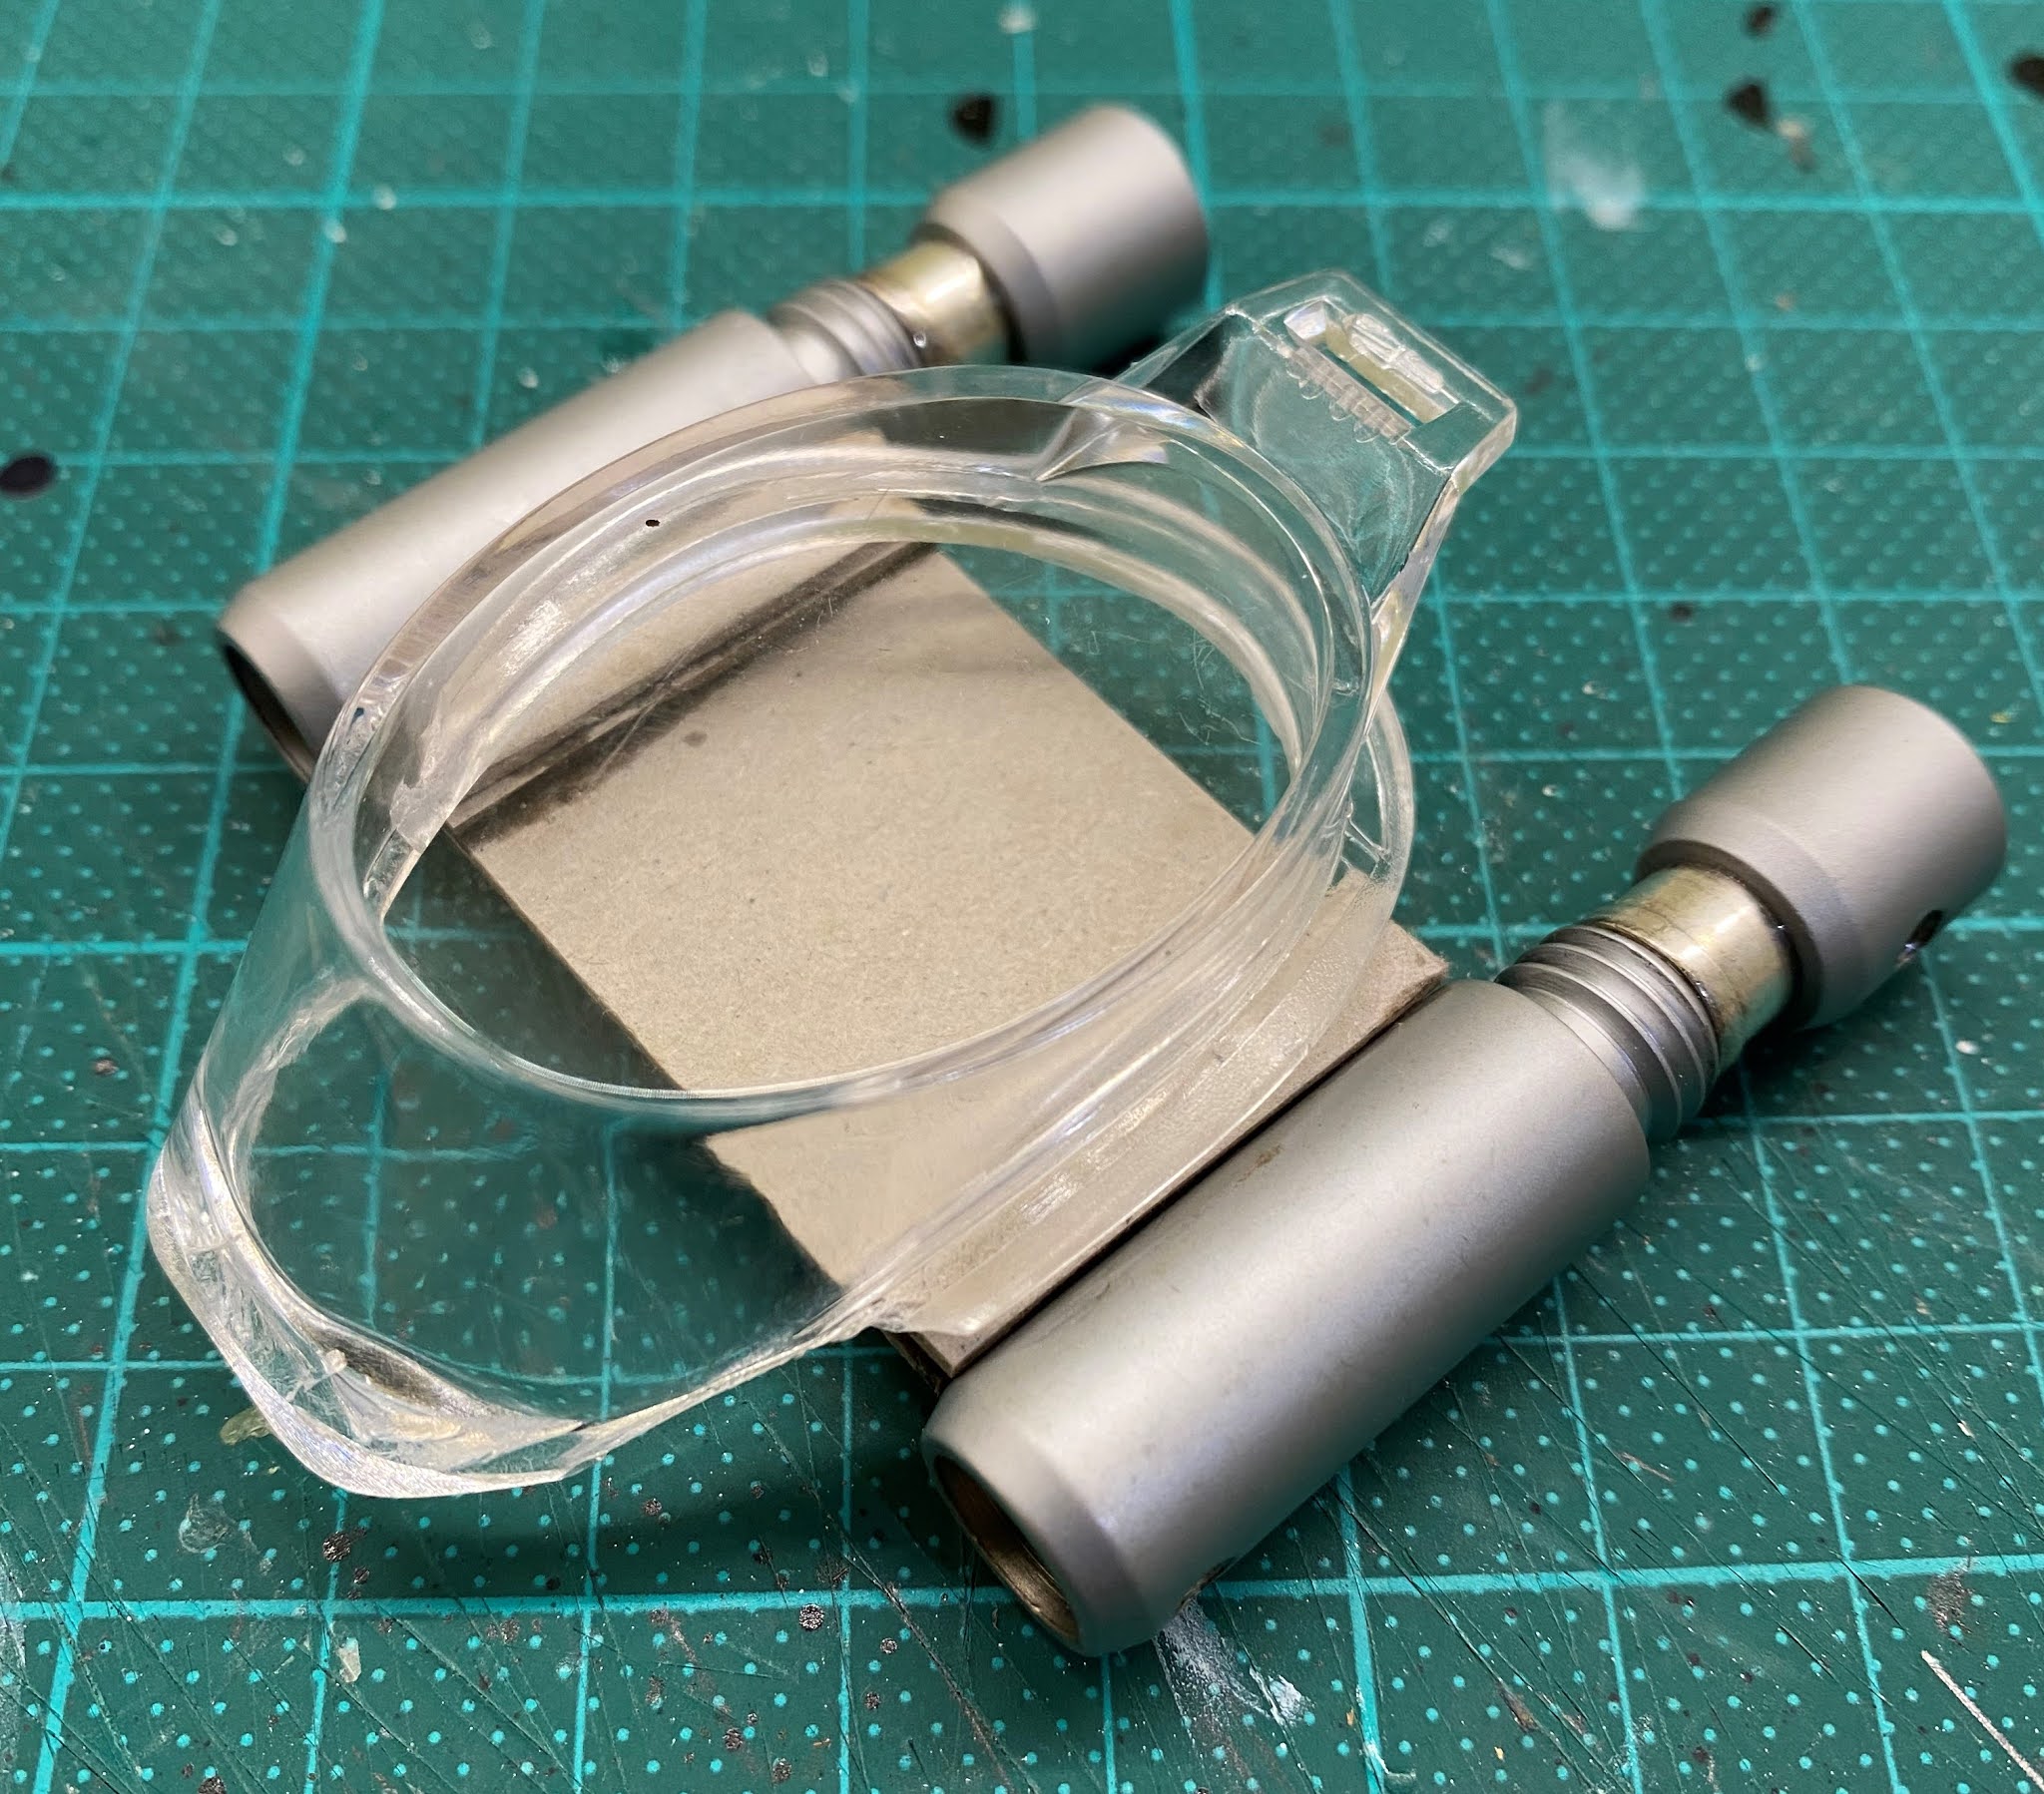
A gog and some other bits!


Pieces of the gog were cut away, and a basic frame was built.

Having mutilated neatly disassembled the goggles, I grabbed a few old bits and bobs and started to put together a basic framework, which would help me gauge the overall scale of the project. This machine needs to make sense as a one-puppet sub, without getting so big that it would result in Thunderbird 2 being absolutely enormous.


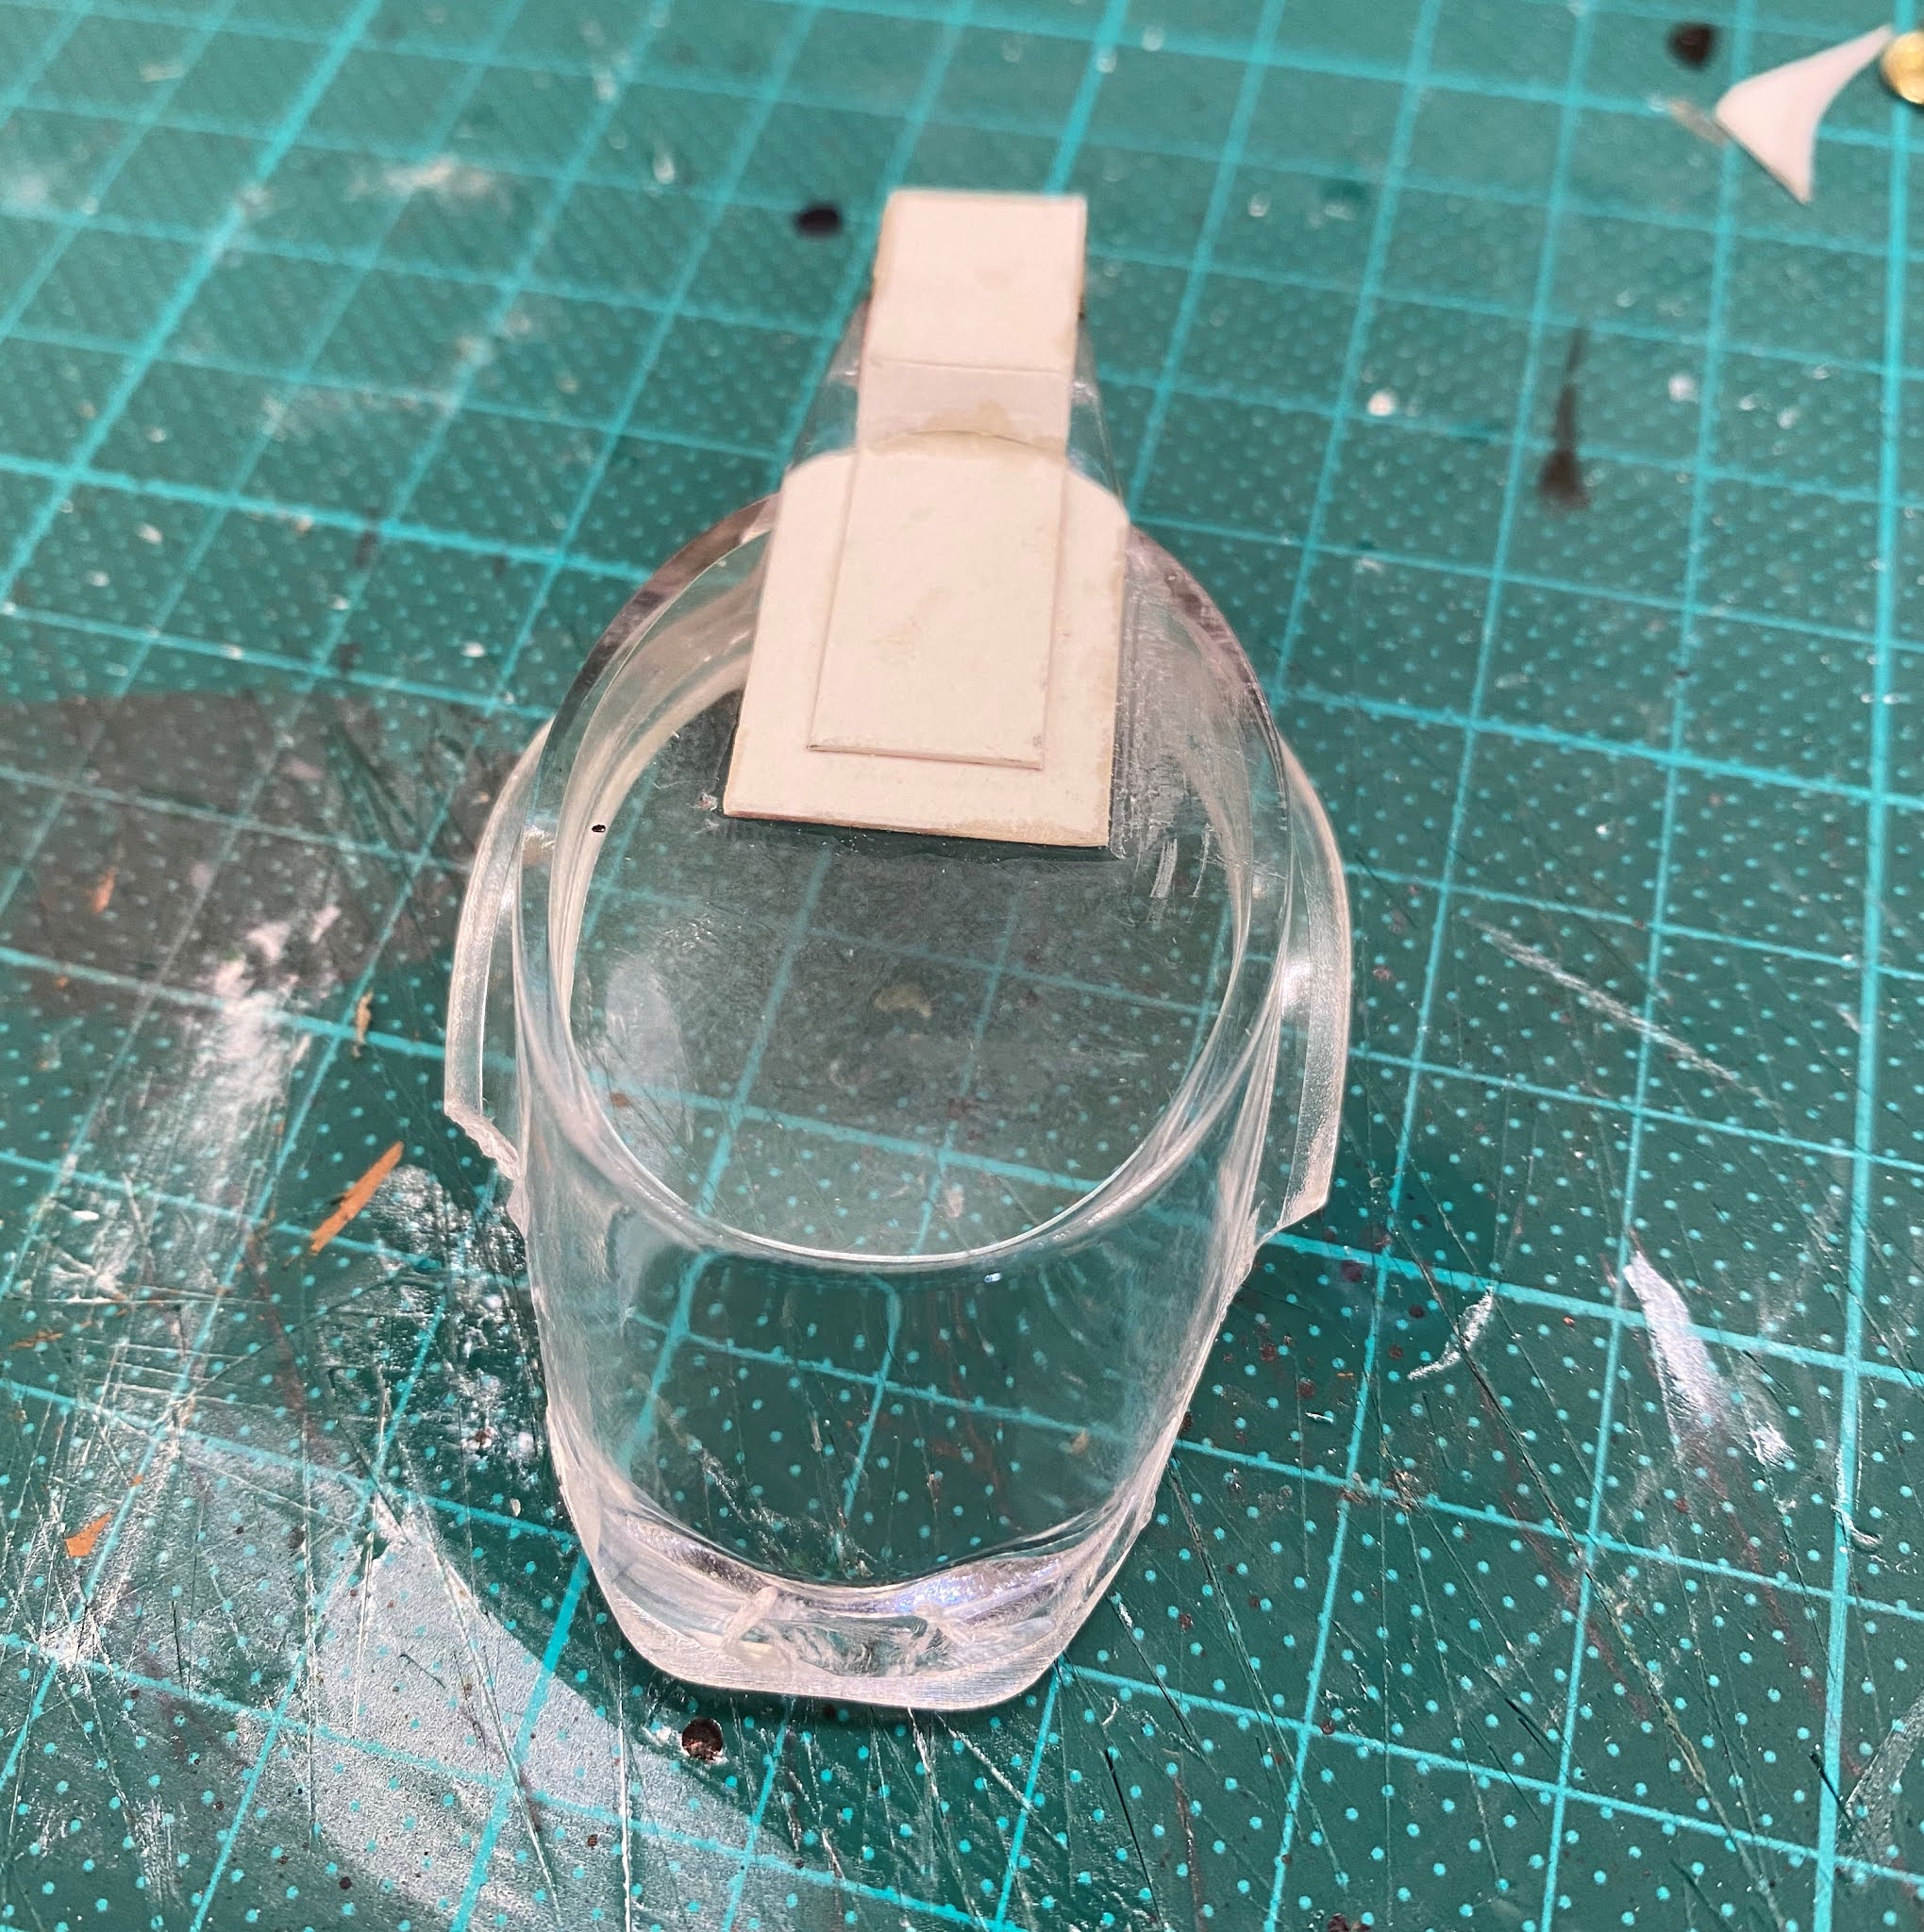
Thin card is added as a base for more details.


The fin is constructed from plastic board, a superglue lid and a bit of tube.

The next thing was to give some thought to a fin, and also how to detail the interior. Just like with The Nautilus, it is necessary to detail and paint the interior before closing it in to work on the rest of the vehicle. Of course, this will soon have to include a pilot before I can go any further.


The cabin interior begins very simply.


As details are added, the canopy is checked in place. And yes - there are rivets! 

The cabin details were constructed very quickly, from card offcuts and bits of plastic tube, with a nice big ring-thingy from something or other that looked perfect to adorn the center of the dashboard. 


The cabin details, painted. Note the addition of a guitar-string conduit

Once the cabin was detailed, it was painted and a window frame was added to the outside using plastic strip and greenstuff. The inside of the gog was also painted wherever it was not intended to be clear but could be viewed from outside.

Finally, the canopy was slightly trimmed here and there until it fitted in place nice and snugly!


Not bad so far! Note the plastic press-stud details and the big brass ringy-thing!


Side-view. Lots of work to do on the underside!


Thunderbirds Are Slightly Go-ish!

All in all, not a bad start to what looks like being a fun project! I shall keep you all updated as I progress of course, and I shall also post the odd piccy on Instagram, for those of you who follow me there!

And, just in case you thought I had forgotten...

Rivet Count: 18 !


All the Best!

Monday, 31 May 2021

Riveting Recollections!

Hi, All!

As followers of this blog know only too well, I have something of a riveting problem. That is to say, my creations tend to have a disturbing number of hand-cut and glued rivets.
 
So, I thought it might be fun to to take a look back at some of my creations over the years, and list them in order of their rivet counts! 

Therefore, without further ado...


Thomson Tank Engines.
Completed May 2012. Rivet count: 485 (each!)
(SOLD)


Bazalgette Light Armoured Perambulatory Contrivance.
Completed June 2012. Rivet count: 505
(SOLD)


The Nautilus.
 Completed May 2021. Rivet count: 843
(Commissioned piece.)


Rocket Ship.
Completed June 2015. Rivet count: 881
(SOLD)


Professor Shandy Tanglefoot's Over-compensatory Death Ray of Doom.
Completed February 2013. Rivet count: 1,158


Steam-powered Star Gate.
Completed January 2019. Rivet count: 1,389
(SOLD)


Airship.
Completed December 2018. Rivet count: 1,866
(commissioned piece)


HMSW Gargantua.
Completed March 2012. Rivet count: 3,630


Lord Smudgington Smythely-Smythe's Hydraulically-Motorvated Sextupedal Land-Traversing Vacational Domicile.
Ongoing since December 2012. Rivet count so far: 13,767


I hope you enjoyed this brief trip down memory lane. Please browse the older posts of this blog for more about all of these monstrosities and feel free to ask questions! 

All the Best!

(p.s. I am now also on Instagram! Follow me there!)

Sunday, 30 May 2021

That Sinking Feeling...


Hi, All!


Coming atcha from the depths of me 'obby room...


Once again I find myself writing to you after something of a long break, but here I am... hale and hearty with many a rivet!

I recently received a commission to build my version of The Nautilus from Jules Verne's 20,000 Leagues Under The Sea. "Hmmm..." I thunk, "Sounds like the ideal opportunity to build my version of Jules Verne's 20,000 Leagues Under The Sea!"

And so, with a song in my heart, a snorkel in my mouth and glue on my fingers, I set about building my version of The Nautilus from Jules Verne's 20,000 Leagues Under The Sea...


Old test pots, a cotton bobbin and a heat sink form the beginnings of the vessel.

In the time since my last post, not only had I not done much model making, but I had also moved house and set up a new hobby room. Consequently, I had lost track of what bits and pieces I had. So began an epic rummaging session, aided by two kittens. The results... paint pots, a plastic wine glass, cogs, guitar strings, a cotton bobbin, garden irrigation components and a heat sink from a light fitting.


Cardboard panels, irrigation bits and some nuts are added...

The basic structure of the vessel was the easy part. I wanted something a bit more interesting than just a tube, but being a submarine, the model needed to look streamlined. I very quickly glued together a few components to give me a starting point, and then started adding details.


Captain Nemo is created in his chair using bits from plastic soldiers, lots of Greenstuff, plastic board and an old cog.


The basic bridge is tested for it inside the wine glass.


Details are added and the first rivets are placed!


A vessel is nothing without its captain, so I decided early on that I would be including Captain Nemo, and that this would necessitate a clear canopy of some kind, along with a detailed interior. Fortunately for me, I had some plastic wine glasses whose diameter was a perfect match for the paint pots!

I started Nemo off with a plush-looking chair for comfort and built him up from there using bits from a plastic Mahdist (Perry Miniatures) a British Line Infantryman (Black Powder Miniatures)  and lots of Greenstuff. I also built him a control panel, into which the rods I had him holding would neatly fit when everything was ready.

Then I turned my attention to the bridge, where most of the work and detail would be. I started this with the lid from another test pot and a basic cardboard structure. Planking was added using a piece of pre-stained and detailed balsa I had left over from building Leadwood City years ago.  The whole thing had to be gradually shaped to fit snugly inside the wine glass that would eventually form the canopy.


The finished interior including guitar string conduits.

The wine glass is sealed and detailing the outside begins.

All of this had to be painted before it would be sealed inside the wine glass forever so that I could work on the rest of the machine. This involved adding paint and details to the inside of the wine glass to give a solid appearance - if I had only focused on the outside of the glass the end result would have been less satisfactory.

...And then it was time for the rest of the vessel...


Bottle stoppers and bits of junk are added, and the bridge section is glued to the main structure.

The bridge, in place at the fore of the sub!

I wanted the sub to have a fish-like quality, so a big dorsal fin was cut from plastic board, and additional streamlining was added to the engine at the rear. Here, the basic flatness of the cardboard fins was disguised using thin strips of card to bulk-up the outer edges like a T-girder. of course, there would later be rivets!


Cardoard fins are slotted into the heat sink. 

Detail is added to the fins.

Starting to look like a thing!

I also added a great big mean-looking spike to the sub's nose!


Spike!

And then it was time to think about a base to mount the whole thing... and to start adding RIVETS!


The completed and detailed structure before painting, balanced on its supports.


The base is just a simple piece of MDF board, with brass rod shape to look like some sort of wavy plant, while supporting the model's weight. This was then built up using DAS clay and detailed using shell-like beads, plastic aquarium plants and a toy octopus.

The canopy is masked

The whole model, undercoated.

Painting begins!

The textured base and vessel together. Note the plastic seashell beads.

I started painting the model by masking off the clear canopy and spraying the whole thing black. A generous coat of a nice greeny-blue colour was applied, followed by grimy looking ink washes and dry-brushed highlights. The copper parts were tidied up and washed with chestnut ink. The steel was just left black then dry-brushed with a gunmetal metallic paint.


I'd like to be... under the sea...

Finally, the painted toy octopus was added to the base and a few more guitar string conduits were added to the sub. Et, voila! Done!


And in case you thought I'd forgotten, the RIVET COUNT for this one is 843!

Another commission is already on the way. Until then...


All the Best!

Wednesday, 22 April 2020

A Blast From The Past!

Hi, All!

A few days ago I received an email from a splendid chap named Nate, who inquired about an early creation of mine: namely, Pantagruel.


As you may know, Pantagruel was the first Steampunk/VSF creation I made, and was the predecessor to the HMSW Gargantua and the (ongoing, possibly forever...) gigantic walker, Lord Smudgington Smythely-Smythe's Hydraulically Motorvated Sextupedal Land-Traversing Vacational Domicile.

Pantagruel! Still puffing along, after all these years!

Anyway, Nate asks whether I can go into a bit more detail about the construction of Pantagruel and provide some better photographs, as the ones I have previously posted are, in his words, "a bit fuzzy"...

After I'd wasted half a glass of damned good Cognac, what with spluttering indignantly over the 'fuzzy' remark, I politely replied and said I'd see what I could do. So without further ado, I shall hereby attempt to provide some clearer insight (and photographs, Nate!) of the aforementioned walker!

A gyrocopter's eye-view

This project was the first very detailed model I had made in a long time, and I learned a lot during the process: I had to use several different adhesives; I used wood stain on balsa for the first time (which was absolutely essential knowledge when I came to build Leadwood); I had to have the patience to finish numerous components before assembling them, and I rediscovered my love for inventorisioning and creativising, and such like.

Pantagruel is essentially just a boat with a boiler and smoke stack, on legs. The boat part was the easy bit, being constructed of thin card (for strength), with balsa sheet applied to inside and out, to give the illusion of planking. This was 1mm balsa, scored with a traditional HB pencil into 4mm wide planks. Nails were dotted in, along with joins where I wanted them, before the balsa was stained with water-based wood stain. This was applied heavily but immediately wiped off with a rag. When dry, a fairly heavy coat of sand-brown paint was dry-brushed across the grain. You can find out more about this technique in my early posts about Leadwood and the tutorial I wrote for constructing wild west buildings.


The reinforcing ironwork (in green) was created from brass sheet - acquired from tubes of tomato paste! It was cut and/or scored with a knife and the rivets were dotted in with a blunt pencil (note that a sharp pencil will go through...) This is great stuff, which can be easily smoothed, shaped, cut...

Eat more Italian food! It's good for your hobby!


Boiler and hip details.

Fire box, bell, gauges and other what-nots.

Driver's controls and coal bunker.

The boiler was constructed from a battery and parts of a permanent marker. The flashing at the bottom of the smokestack is more brass sheet, while the firebox is again part of a marker pen, with detail added in thin card.The smaller components are bits of irrigation thingummies from a hardware store. The bronze-looking display with the gauges is a piece of thick cardboard with slices of plastic tube glued on. The gauges were painted white and detailed with a fine black drawing pen. The driver's display was made in the same way, with levers added made from bent dress making pins. The coal is just grit, glued onto a card backing and painted a slightly shiny black. Finally, the sort-of-filigree design at the rear and sides are cheap bits of jewelry from a craft store.


My magnificently adorned rear end!

The 'hips' are two halves of the lid of a plastic medicine bottle, adorned with more irrigation parts and decorated with the same jewelry bits as the rear of the boiler. The bell also came from a local craft store (about $1 for 12 or so) and is mounted on a bent dress-making pin.


Hip, upper leg and first piston...

Now for the legs and feet...

The legs and feet are made from thick (6mm) balsa wood. They were cut into their component shapes and detailed with pencil as noted above, before being stained and highlighted. As you can see from the NOT AT ALL FUZZY photographs, they are actually pretty rough, as I hadn't developed the patience to sandpaper all the tiny things... Again, reinforcing details of brass sheet were added.

Left foot, ankle and lower pistons. 

All of the various pistons were planned and made from plastic rod and tube. Each had to be kept as an adjustable component until I was sure I had the legs in exactly the right positions. Then the pistons were glued and painted, before being permanently attached to the legs. Each one has an inlet valve near the top that would later be plumbed-in to a guitar string conduit, and an outlet valve near the bottom. More about the guitar strings shortly...

For a sense of scale, the base is made from two CDs. A clear plastic rod supports the body.

As you can see, the model's weight is actually taken by a clear rod which is firmly attached to the underside of the body. This was largely due to my poor planning and over-enthusiasm, and something I gave a lot of thought to in subsequent creations. Gargantua for example, is solidly free-standing. With Pantagruel, the legs were pinned to the body with long nails which pass through the upper legs and pistons into the hip assemblies. This is not a robust arrangement and could have been done much better.

The very last details were the conduits. These were made from old bronze-wound acoustic guitar strings, which look great in my opinion and do not need to be painted at all. Each of these had to be cut to the right length for its particular place, and shaped with pliers to look right. This is fiddly work, as they retain a bit of spring and can easily damage the model once glued into place, as they can pull it apart again.

Finally, a note about adhesives and paints:

The following glues were used:


  • PVA (wood glue) for gluing card to card, texturing the base, and gluing grit into the coal bunker. DO NOT use cheap PVA (sometimes marketed as 'School Glue') - it isn't worth it. Spend a bit more money on decent aliphatic wood glue - a little goes a very long way.
  • Superglue for gluing non-porous materials to other non-porous materials (i.e. metal to plastic). Feel free to use cheap superglue! I do.
  • Balsa cement. For balsa. Obviously. This is amazing stuff to work with. There is no better alternative.
  • Araldite / epoxy. For gluing brass sheet to Balsa, and securing nails through the balsa joints (legs). Stinky and horrible. I've always hated it, but it really does a good job.
  • Polystyrene cement. Used to be commonly referred to as 'Airfix glue' when I was a lad. For gluing styrene plastic tubes (pistons) and other details. In combination with styrene plastic, probably my favourite medium to work with. Use the liquid form with a little brush, not the stuff that comes exploding out of a tiny tube and ruins your work.
Paints:
  • Most of my machines are painted using test pots of acrylic house paints. In this case, paints and wood stain by Resene. There is a massive range available in your local paint store, at a fraction of the price of hobby/miniature paints, and I have yet to experience any real advantage to paying for the more expensive (and tiny) pots. Back when I made Pantagruel the only expensive paints I owned were metallics, but even these are available (and they are good!) from my preferred range now.
  • I also favour acrylic artists' inks for washes. As followers of the blog will know, I colour creatures and people this way, rather than paint, but for machines they are really only used to 'dirty up' metal colours. With Pantagruel this took the form of a bit of chesnut brown ink on the bronze bits.

Just some of me previous creations, safe behind glass!

So there you go. I hope this episode has been informative and helpful!

For what it's worth, there's a Mark II version of Pantagruel on the old drawing board, and I'll be letting you know how that goes! In the meantime, I have hundreds of tiny goblins to paint, a castle on a dinosaur to finish, a wizard's tower to complete, the ongoing life-sapping concept that is Lord Smudgington Smythely-Smythe's Hydraulically Motorvated Sextupedal Land-Traversing Vacational Domicile and God only knows what else!


All the Best!