A bit of an update on my steam powered Stargate project for you today, before I knuckle down and try to finish it!
 |
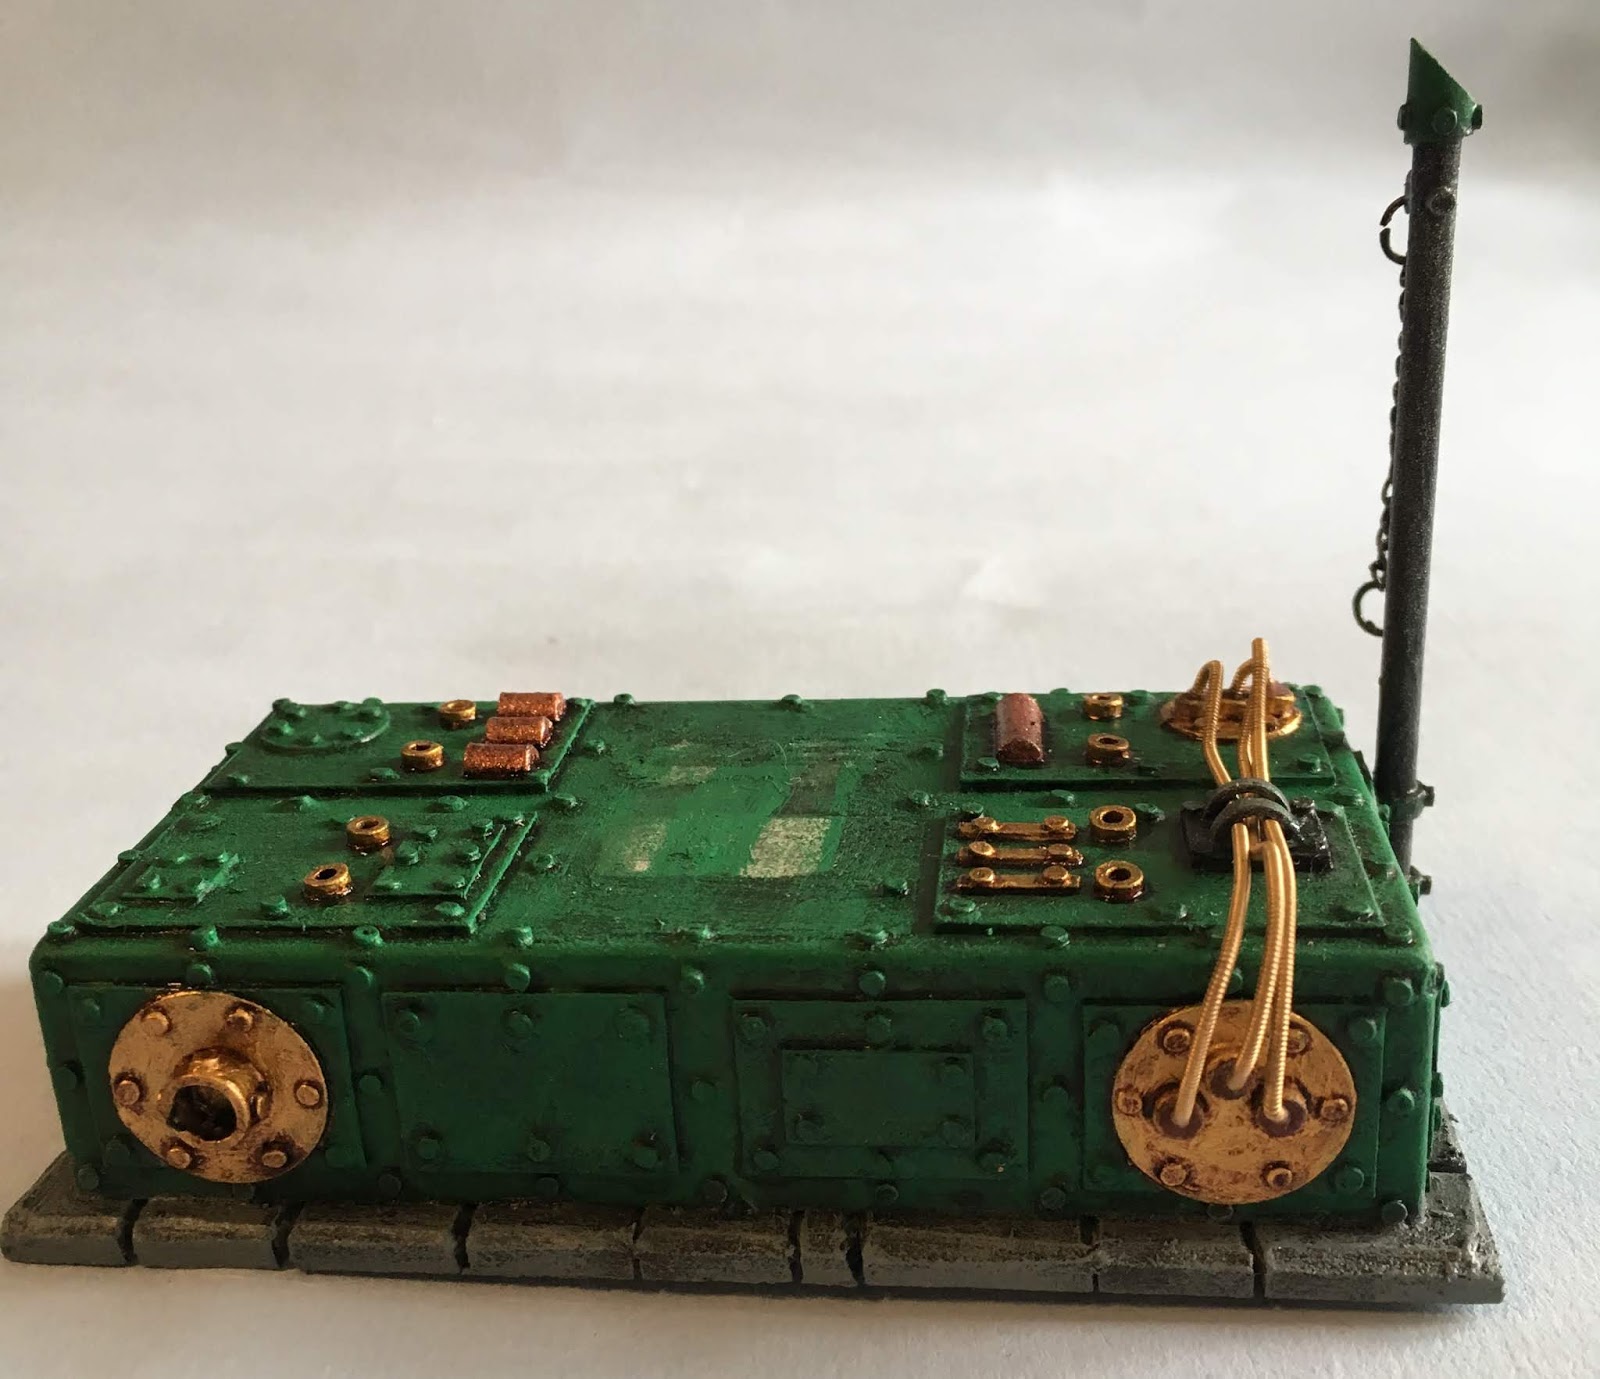
| The boiler, pipes and chimney, almost ready for final construction! |
The last several days I've been getting the various components painted, in a (failed) effort to knock the bugger off before reality set in and I had to return to work!
Sigh... Didn't jolly well happen, did it? Oh, well. On with the post!
As you can see, this job has been fairly heavy on the green paint. I wanted something that looked heavy, and for me, nothing says "Victorian machinery" quite like a good dirty green paint job with plenty of brass.
 |
| Left to right: 1 coat of green, 2 coats, and with a dark wash. |
 |
| Basic green on the stairs and the Stargate. |
The process here was very simple. First, I painted practically all parts green, which required two coats as I didn't bother with an undercoat. Since this is essentially a terrain piece rather than a perambulatory wotnot, and therefore won't be handled a lot, I can get away with it. I wouldn't normally recommend it.
 |
| Dark wash on the plinth, and highlight on the chimney. |
Having allowed the green to dry, each component was washed with a mix of 1 part black ink to 3 parts rust ink, and 8 parts water. This in turn was highlighted with the original green again. Of course, I could have highlighted further with a brighter green or even yellow, but I want this to look really solid, grimy and imposing. The metalwork will add brightness.
 |
| The finished plinth has plenty of brass and copper components to add interest. |
Brass area were painted gold - again two coats - and then washed with a nut brown ink. Black areas were painted black (two coats) then lightly highlighted with dark grey, followed by a very light dusting of silver. There are also a couple of small copper components - but there will be more about the copper when I finish the gate itself.
I also started to add my favourite extra bits - guitar strings as cables. These were carefully bent into shape with pliers and glued with just a tiny drop of superglue at each end. The bronze looks gorgeous and doesn't need to be painted at all. There will be plenty more on the final piece!
 |
| Bronze wound guitar strings are added. |
The stairway itself and the mesh walkway were painted separately then glued together. Only now can I start putting the hand rails together.
 |
| I rather like my little brass circle details! |
 |
| Ready for hand rails. |
With the main components ready to glue into place, I will now turn my attention to finishing the Stargate and controls, and the handrails for the stairs. I also want to add a coal bunker for the boiler, and I'm not happy with the base - so that will have to be redone before the final construction can be completed.
 |
| Boiler and chimney |
 |
| Boiler and chimney again |
All in all I think that's looking rather splendid! More soon!
 |
| Time to finish this beast! |
All the Best!
Ah ... oooh ... oooooh !!!! Breathed! In a word - amazing!
ReplyDeleteOne really ought to pace oneself, old chap! There's a fair way to go yet!
DeleteIn a word - thank you!
An inspired, metallic work...superb!!
ReplyDeleteMany thanks, sir!
DeleteSplendid, as always Sir!
ReplyDeleteThank you, as always, sir!
DeleteLooking marvelous, it is a shame work has to get in the way!
ReplyDeleteThank you Michael! Yes - reality has always been one of my least favourite things.
DeleteI can already smell the blasts of ozone!
ReplyDeleteCan I recommend a good pharmacy and a few changes in your diet?
DeleteElegant, solid, grimy and imposing. Nailed (or should it be riveted) it!
ReplyDeleteBut enough about me. What do you think of the model?
DeleteThis is beautiful work, as always, and your rivet work is fantastic. One thing puzzles me about this piece: why is the chimney separate from the boiler? My understanding of steam engines is that the firebox is under the boiler to heat the water to steam, which drives the various mechanisms. So, to me, the chimney should be on top of the firebox.
ReplyDeleteThank you, Elderac my friend! Damned if I know - those Victorian chappies did some dashed strange stuff!
DeleteBut if you look closely, there is a chimney on the firebox...
The green paint is perfect! Rather inspirational I must say.
ReplyDeleteThank you very much, Natholeon!
DeleteNothing like a good solid coat of zinc chromate to make something look finely tuned and mechanical! (And more than slightly toxic.) Looking lovely. Green is a most excellent choice, and the machinery looks well made and well loved.
ReplyDeleteSpoken like a true connoisseur, sir! I thank you!
DeleteI have had the good fortune to volunteer my time in the preservation of actual steam powered and riveted things. To be fair, ours was mostly black, but there was a copious use of green. (Mostly on the more wooden bits.) And there were (are) many many many rivets! :D And much polished brass, come think. And some grease and grime. Alemite. Red grease. Steam oil. Lubricating oil. Bunker C fuel oil. Soot. Sand. Dust. Sweat. Blood. Tears. All quite literally present and accounted for. Yes, I am something of an aficionado. (I might almost be a connoisseur if I could spell it.)
DeleteIn that case, I bow to your superior experience and I am pleased that I seem to be heading in the right direction!
DeleteYour mastery of all things riveted is beyond dispute, sir. I am merely an apprentice, even if the rivets were ferrous and in 1/1 scale. But I thank you for your compliment. And I look forward to the rest of the build.
Delete